
Why Fixing Damaged Walls Is a Key Step in Any Remodel
Drywall repair plays a big part in any home renovation because your walls set the stage for everything else. Before you paint, install cabinets, or add tile, the surface has to be smooth and solid. Small holes, cracks, and dents can ruin the final look. Taking care of these problems early helps the rest of the project look clean and last longer.
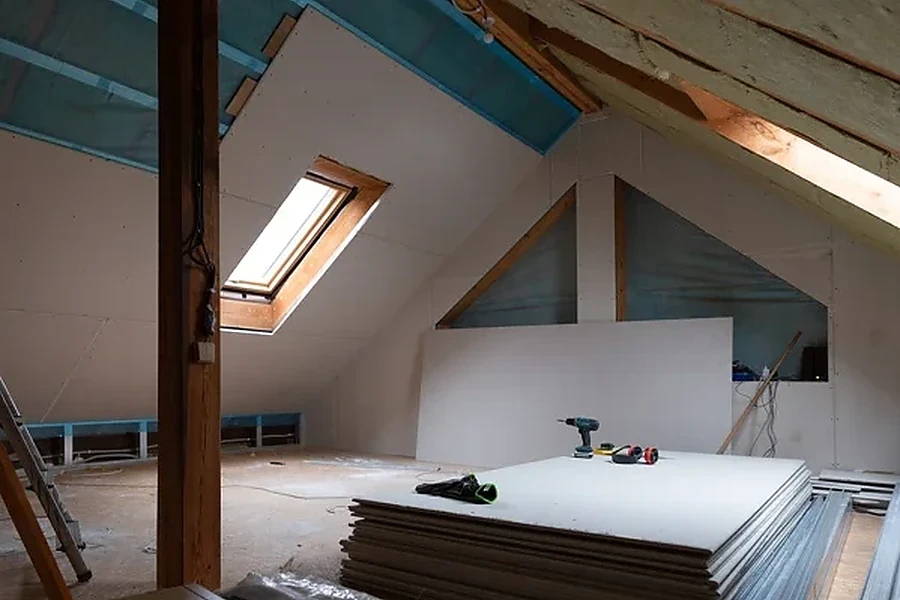
How Drywall Repair Supports a Successful Renovation
When you remodel a room, you change how it looks and feels. But if the walls are uneven or damaged, the space will never look finished. drywall repair fixes problem spots so new paint, trim, or fixtures sit flat against the surface.
In many homes, walls have nail pops, corner cracks, or water stains. These flaws often show up more once bright new paint goes on. Fixing them first saves time and stress later. It also protects your investment in other parts of the renovation.
What to Check Before Starting Repairs
Before you start tearing into a wall, take a close look at the damage. Not all cracks are the same. Some are small and simple. Others point to bigger issues.
- Hairline cracks along seams or corners
- Small holes from nails or door handles
- Soft spots from past water leaks
- Bubbling tape along joints
- Dents from moving furniture
If you notice stains or soft drywall, check for active leaks first. Fixing the wall without stopping moisture will only lead to the same problem again.
Step-by-Step Role of Drywall Repair During Remodeling
In most renovation projects, drywall repair follows a simple order. Doing it at the right time keeps the job moving smoothly.
- Remove damaged sections of drywall.
- Secure loose panels and reattach where needed.
- Apply joint tape over seams and cracks.
- Spread joint compound in thin, even layers.
- Sand the area smooth once dry.
- Prime repaired spots before painting.
This process creates a flat surface that blends with the rest of the wall. Skipping steps often leads to visible patches or rough spots under light.
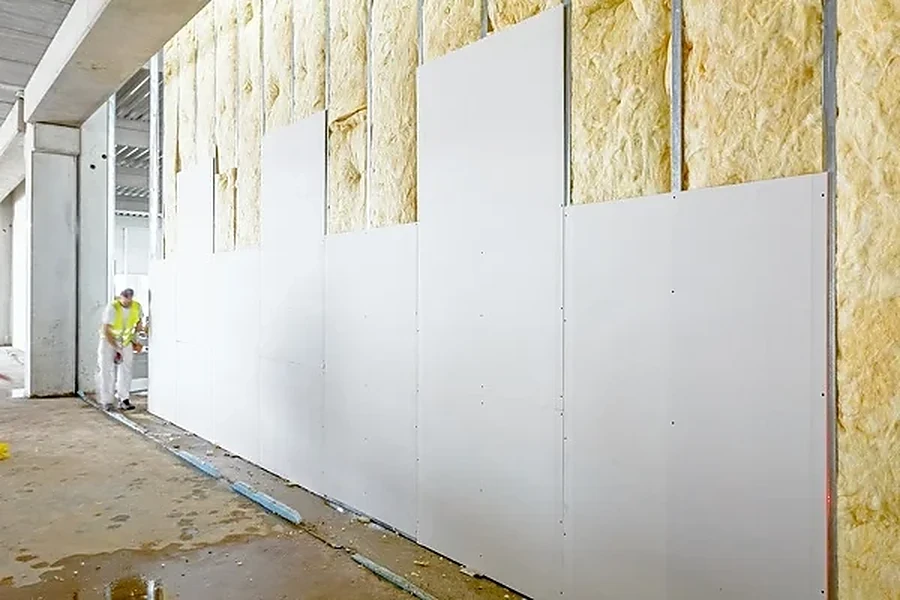
Common Mistakes That Affect the Final Look
Many homeowners rush through wall patching because it seems simple. Small shortcuts can show up fast once the room is finished.
- Using too much joint compound at once
- Not letting each layer dry fully
- Skipping primer before paint
- Sanding too hard and damaging the paper surface
Another mistake is ignoring nearby surfaces. Dust from sanding can settle on floors, vents, and cabinets. Good prep and cleanup keep the rest of the renovation safe.
When Professional Help Makes Sense
Some repairs are easy weekend jobs. Others need a trained hand. Large holes, structural cracks, or ceiling damage often require more skill. Matching wall texture is also tricky. Popcorn, knockdown, and orange peel finishes need the right tools and technique.
If you are updating several rooms at once, hiring help can keep your timeline on track. A pro in the field understands how wall work ties into painting, trim, and flooring. That coordination helps avoid delays between trades.
Long-Term Value of Smooth, Solid Walls
Strong walls do more than look nice. They support shelves, cabinets, and mounted TVs. Proper drywall repair helps prevent future cracks around doors and windows. It also seals gaps that let in drafts or pests.
Buyers notice wall condition during home tours. Fresh, smooth surfaces make a home feel cared for. Even if you are not selling, living in a clean, finished space feels better every day.
Ready to Improve Your Walls the Right Way?
If you are planning a renovation in Burlington, NC, I can help you decide what repairs make sense before the rest of your project begins. At JIL Interior LLC, I focus on careful prep and clean results so your updated space looks its best. Call (336) 677-5542 to talk with me about your walls and schedule a time that works for you.